

Clean condenser coils, check gaskets, and log temperatures daily. Do these three things and you prevent most refrigeration breakdowns before they start.
Commercial refrigerator repair calls almost always trace back to a task that was skipped weeks earlier, not a sudden mechanical failure. The standard target range is 4°C for chillers and −18°C for freezers, and every certified technician trained under a scheme equivalent to EPA 608 will tell you the same thing: dirty coils and worn seals cause the majority of service calls. Superior Kitchen Equipment sees this pattern across restaurants and food manufacturers alike.
Here’s what to check in the next 30 minutes:
- Read the display thermometer against your logbook. Flag anything more than 2°C off target.
- Run your finger along the door gasket. Sticky, cracked, or loose sections mean warm air is leaking in.
- Look behind or beneath the unit at the condenser coil. Visible dust, grease, or lint means it’s overdue for a clean.
- Check the floor beneath the unit for pooling water, a sign the drain line or defrost pan needs attention.
- Listen for the compressor. Constant clicking or grinding is not normal operating noise.
Pro Tip: Keep a laminated card taped inside the kitchen office door listing your fridge’s target temperature range. New staff can then spot an abnormal reading in seconds, without waiting for a supervisor.
The one-line rule that matters most: if you smell burning, see oil residue near refrigerant lines, or the compressor won’t stop cycling, switch off the unit at the isolator and call a certified technician immediately. Everything else on this page can wait until you’ve read the rest of it.
Key Takeaways
Commercial fridge maintenance succeeds when daily temperature logging, monthly coil cleaning, and clear technician escalation rules are followed consistently by trained staff.
| Point | Details |
|---|---|
| Coil cleaning prevents failures | Monthly brushing prevents roughly 40% of emergency refrigeration calls. |
| Log temperatures daily | Target 4°C for chillers and −18°C for freezers, recorded twice per shift. |
| Know your escalation rule | Burning smell, oil residue, or non-stop compressor cycling means power off and call a technician. |
| Budget for prevention | Quarterly visits costing US$200 to US$400 can prevent costly emergency repairs |
| Consider upgrading past year eight | Superior Kitchen Equipment’s inverter chillers and display units cut running costs when repeated repairs stop making sense. |
Table of Contents
- Building a commercial fridge maintenance checklist by frequency
- Diagnosing common commercial refrigerator problems
- How do you clean condenser coils safely?
- Checking and replacing door gaskets and hinges
- Keeping the evaporator and drain system clear
- What should be left to a certified technician?
- What preventive maintenance actually costs over time
- Choosing a service provider you can trust
- When maintenance isn’t enough: energy-efficient upgrades
- What busy kitchen managers should actually prioritise
- When repairing no longer makes financial sense
- Sources
Building a commercial fridge maintenance checklist by frequency
A maintenance schedule only works if everyone knows their job in it. Line staff, supervisors, and outside technicians each own a different slice of the workload, and mixing that up is how tasks get skipped.
Daily tasks fall to whoever opens or closes the kitchen. Weekly and monthly tasks suit a rotating supervisor duty. Quarterly and annual work belongs to a contracted technician, partly because it requires tools most kitchens don’t own, and partly because sealed refrigerant systems are not a DIY job.
This structure follows the weekly, monthly, and half-yearly rhythm that most manufacturers build their warranty terms around, with a technician handling the half-yearly visit rather than kitchen staff.
Tools and consumables worth stocking:
- A stiff-bristled coil brush and a small wet/dry vacuum with a narrow nozzle
- A calibrated probe thermometer, separate from the unit’s built-in display
- Microfibre cloths and food-grade sanitiser for interior surfaces
- A flexible drain snake or pipe cleaner for condensate lines
- Basic PPE: cut-resistant gloves and safety glasses when brushing coils
Immediate spill cleaning and regular disposal of expired stock do more for hygiene than any single deep clean, according to guidance from Samsung’s refrigerator maintenance advice, because bacteria and mould take hold fastest in standing moisture and food residue, not in dust.
Train new staff on the logbook first, before anything else. A temperature log kept for at least 12 months gives you a paper trail for food safety audits, insurance claims, and warranty disputes, and it gives a technician something concrete to work from when a fault does appear. Paper logs work fine; a shared spreadsheet or app works better if more than one shift needs access to it.
Diagnosing common commercial refrigerator problems
Most refrigeration faults announce themselves clearly if you know what to look for. The trick is matching the symptom to the right first move, rather than guessing.
- Not cooling enough: check the thermostat setting first, then the condenser coil for dust buildup, then confirm the door seals close fully.
- Frost or ice buildup on the evaporator: usually means a defrost cycle failure or a door left ajar too often. Check the door switch and defrost timer before assuming a refrigerant issue.
- Water pooling on the floor: almost always a blocked condensate drain line, not a leak in the refrigerant system. Clear the line before calling anyone out.
- Loud or unusual compressor noise: grinding or knocking suggests a mechanical problem inside the compressor housing. Don’t keep running it hoping the noise stops.
- Short cycling (turning on and off rapidly): often points to a dirty coil restricting airflow, or a failing thermostat.
Run through your temperature log, gasket condition, and coil cleanliness before you pick up the phone. Many of these issues resolve with the coil brush and a clean cloth. As guidance on DIY refrigerator maintenance points out, cleaning coils and checking gaskets sits safely within staff capability, while refrigerant and compressor work does not.
Brushing coils monthly alone prevents roughly 40% of the emergency calls that commercial kitchens make. That single statistic explains why coil cleaning appears at the top of every maintenance checklist worth following.
Switch the unit off at the isolator and call a technician immediately if you see oil residue near refrigerant lines, smell anything electrical burning, notice frost forming on copper lines rather than inside the cabinet, or find the compressor clicking on and off without settling. These are not cosmetic issues. Continuing to run the unit risks losing an entire fridge or freezer’s worth of stock.
How do you clean condenser coils safely?
Dirty coils force the compressor to work harder to reject heat, which drives up your electricity bill and shortens compressor lifespan. Cleaning them is simple, provided you follow the sequence in order.
- Switch off the unit at the isolator or unplug it. Never brush a live coil.
- Remove the front or rear access grille, keeping screws in a labelled cup.
- Brush from top to bottom in one direction, letting dust fall rather than pushing it deeper into the coil fins.
- Vacuum loose debris with a narrow nozzle attachment.
- Reinstall the grille and restore power, then confirm the compressor starts normally.
Keep at least 15cm of clearance around intake and exhaust vents. Anything closer restricts airflow, regardless of how clean the coil itself is. Never let grease from a nearby fryer or grill settle onto the coil fins. In grease-heavy kitchens, monthly brushing often isn’t enough, and a professional deep-clean every quarter becomes the more realistic interval compared with the six-month cycle recommended for domestic fridges.
Pro Tip: Skip aerosol chemical degreasers directly on coil fins unless the product label explicitly states it’s safe for refrigeration coils. Many residential-grade cleaners leave a residue that attracts more dust than it removes.
Checking and replacing door gaskets and hinges
A worn gasket leaks cold air continuously, forcing the compressor to run longer cycles just to hold temperature. The dollar-bill test catches this in seconds: close the door on a banknote or sheet of paper at several points around the frame. If it slides out with no resistance, the seal has failed at that point.
- Inspect gaskets monthly for cracking, brittleness, or mould growth in the folds.
- Clean seals weekly with warm water and mild detergent, never harsh solvents that dry out the rubber.
- Check hinges for sag or misalignment. A door that doesn’t close square wears the gasket unevenly on one side.
- Keep at least one spare gasket per unit type in stock. A trained supervisor can swap most gaskets in under 20 minutes.
Gaskets typically need replacing every one to three years depending on how often the door is used, and parts generally run a modest sum plus labour if you’re not doing it yourself. Left unreplaced, a failed seal is one of the quieter ways a unit quietly burns through 40% more energy than it should.
Keeping the evaporator and drain system clear
The evaporator side of the unit causes fewer dramatic failures than the compressor, but it’s responsible for most of the puddles, odours, and ice buildup managers notice day to day.
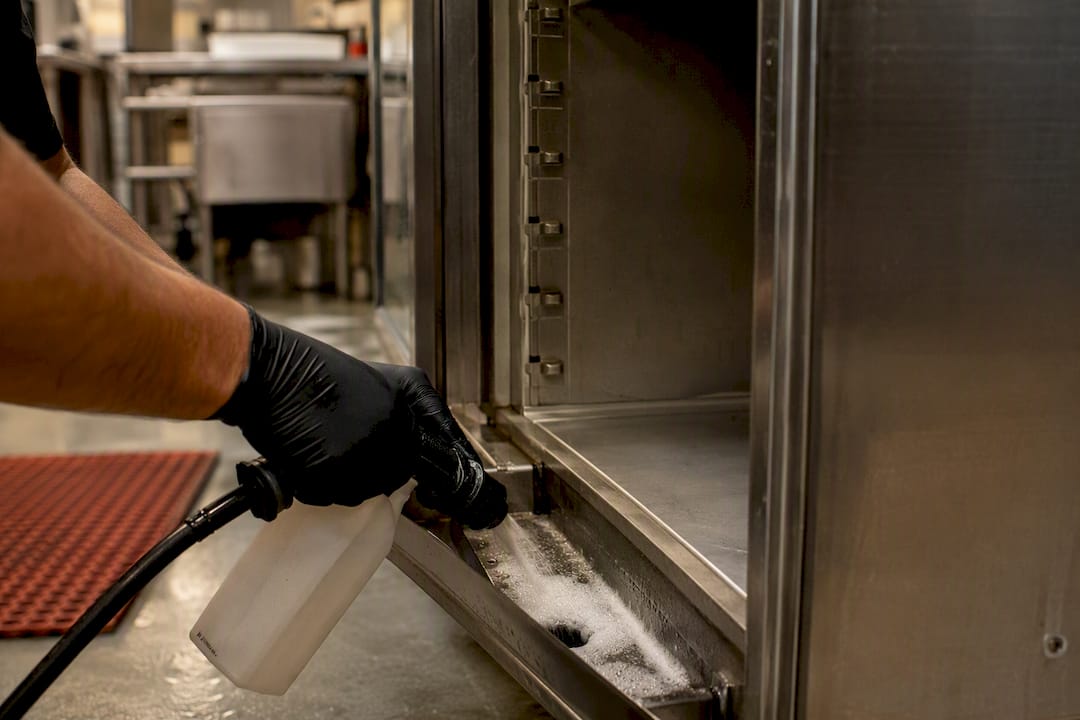
- Pull out the drain pan and check for standing water or debris blocking the outlet.
- Run a flexible pipe cleaner or drain snake through the condensate line to clear any buildup.
- Flush the line with warm water until it runs freely.
- Repeat monthly, or weekly in units running near capacity or in warmer back-of-house areas.
Look for ice forming unevenly across the evaporator coil, a fan that’s iced over, or restricted airflow around the vents. Any of these suggest the defrost cycle isn’t completing properly, which is worth flagging to a technician before ice mass grows large enough to block airflow entirely.
Sanitise the drain pan with a food-grade sanitiser rather than bleach, which can corrode metal components over repeated use. Mould and sour odours around the evaporator almost always trace back to standing water that was never fully flushed out.
Pro Tip: If you notice a musty smell every time you open a reach-in unit, check the drain pan before you check anything else. It’s the most commonly overlooked source of fridge odour.
What should be left to a certified technician?
Some refrigeration tasks are genuinely dangerous or simply require licensed access to tools and refrigerant that kitchen staff shouldn’t be handling. Knowing where that line sits saves you from voiding a warranty or causing a bigger fault.
- Refrigerant handling, topping up, or leak repair, which requires certification equivalent to EPA 608 or a local refrigeration licence
- Compressor replacement or internal electrical repairs
- Superheat and subcool readings used to diagnose sealed-system performance
- Any live electrical work beyond flipping an isolator switch
Before the technician arrives, have your temperature logs from the past two weeks ready, a simple timeline of when the symptom started, photos of anything unusual, and the unit’s serial number. This turns a diagnostic visit into a repair visit.
A technician who arrives with your temperature log and a clear symptom timeline can often diagnose a fault in the time it would otherwise take just to establish what changed.
Never attempt sealed-system work or live electrical repairs yourself. Isolate power safely at the switch before any basic inspection, and always confirm your technician holds a valid local refrigeration licence or an equivalent to REFCOM before booking a visit.
What preventive maintenance actually costs over time
A realistic schedule looks like this: daily temperature logging, weekly cleaning and gasket checks, monthly coil brushing, and a professional visit every quarter or half-year depending on kitchen load. Manufacturers commonly recommend at least one planned preventive visit annually, rising to twice yearly for units running hard in warm, high-traffic kitchens.
- A typical quarterly maintenance visit costs in the range of US$200 to US$400 in markets where that pricing data is published.
- The same source notes this modest spend can prevent costly emergency repairs and product losses, not counting the cost of spoiled stock.
- A well-maintained commercial reach-in or undercounter unit typically lasts 10 to 15 years; frequent repeated faults after year eight often signal it’s cheaper to replace than keep patching.
Keep every service invoice and log entry. Warranty claims and food safety inspections both move faster when you can produce a documented maintenance history rather than a verbal account.
Choosing a service provider you can trust
Not every technician who answers the phone is qualified to work on commercial refrigeration systems, and a bad hire tends to show up again as a repeat fault within months.
- Ask for proof of local licensing equivalent to REFCOM or EPA 608, plus liability insurance and at least two references from commercial kitchens.
- Request a written quote before work starts, including a flat call-out fee, hourly labour rate, and parts markup policy.
- Ask about response time for emergency breakdowns and whether they offer priority escalation for active kitchens.
- Confirm what warranty covers the repair itself, separate from any manufacturer warranty on parts.
Red flags worth walking away from:
- No written quote, only a verbal estimate
- Vague or evasive answers when asked about refrigerant handling competence
- No proof of insurance or refusal to provide references
Start a maintenance log now if you haven’t already. It becomes your strongest negotiating tool with any provider you interview.
When maintenance isn’t enough: energy-efficient upgrades
Maintenance extends a unit’s working life, but it can’t fix a compressor design that was inefficient the day it left the factory. If a unit is over eight years old, running an inverter compressor upgrade or better cabinet insulation often pays back faster than another year of patch repairs.
- Ask any showroom for actual energy test data, not just a manufacturer spec sheet.
- Confirm warranty terms cover both parts and labour, not just parts.
- Ask what installation and aftercare support is included in the purchase price.
- Factor in available energy efficiency grants alongside the running cost savings before comparing sticker prices.
Superior Kitchen Equipment’s showroom lets you inspect inverter models and display units side by side before committing, which matters more than most managers expect once you’re comparing real running costs rather than brochure figures.
Pro Tip: Bring your last three months of electricity bills to a showroom visit. A good sales advisor can estimate your payback period on an inverter upgrade in minutes, not weeks.
What busy kitchen managers should actually prioritise
Most managers try to do everything themselves and end up doing nothing consistently. The better approach: train staff to own the two-minute daily checks and weekly gasket wipe-downs, and outsource everything involving refrigerant or electrical work without exception.
Budget 20 to 30 minutes per week per unit for staff-level maintenance. That’s realistic even in a busy kitchen, and it’s the single biggest lever against emergency call-outs. Build the coil check into the closing shift routine rather than treating it as a separate task nobody owns.
The habit that pays off most isn’t the cleaning itself. It’s the log. Documented checks turn a stressful health inspection into a five-minute formality, and they give any technician a head start the moment something does go wrong.
When repairing no longer makes financial sense
Repeated faults on a unit past its eighth or ninth year usually cost more in accumulated repair bills and lost stock than replacing it outright. If you’re weighing that decision right now, it’s worth knowing what’s actually available before you commit to another repair invoice.
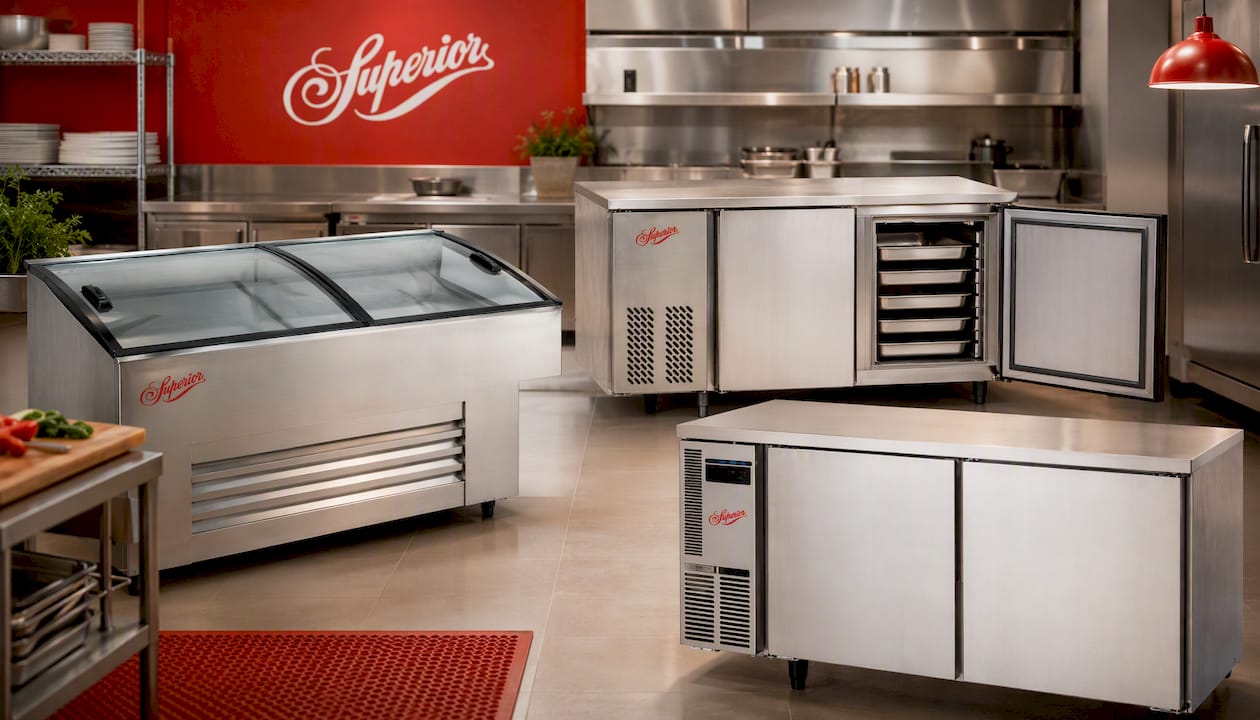
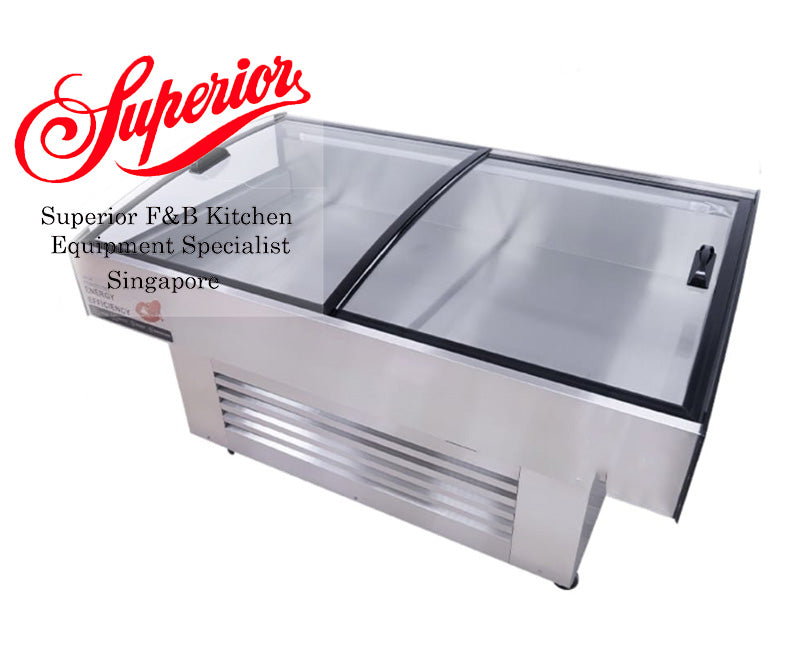
Superior Kitchen Equipment’s showroom lets you compare energy-efficient replacements against your current running costs, rather than guessing from a spec sheet. The Glass Sliding Door Chiller suits front-of-house display needs where visibility and merchandising matter as much as cooling. Smaller kitchens weighing up an undercounter replacement often find the 2 Door Counter Freezer Baking Tray fits tight prep-line footprints without sacrificing capacity. For kitchens focused on running costs above all else, the 1.5m Superior Inverter Counter Chiller / Freezer uses inverter compressor technology designed to cut electricity draw compared with standard fixed-speed units, and Superior Kitchen Equipment can talk you through available energy efficiency grants that offset the upfront cost.
This isn’t a substitute for impartial advice from your own technician about whether your specific unit is worth repairing. If you’re not ready to replace, ask Superior Kitchen Equipment about a maintenance plan or a planned preventive maintenance quotation instead, and visit the showroom to see the range in person before deciding either way.
Sources
- Commercial Refrigeration Maintenance Guide | North Breeze
- A Guide to Commercial Fridge Maintenance | Bromic Refrigeration
- DIY Commercial Refrigerator Maintenance Guide | Zanduco US
- Refrigerator Maintenance Guide: Complete Checklist – 911 Appliance
- Commercial refrigeration maintenance checklist | FridgeFreezerDirect
- Routine refrigerator maintenance tips and tricks — Samsung
Keep product manuals filed with your maintenance log, and ask suppliers directly for their recommended PPM schedule rather than relying on generic intervals.